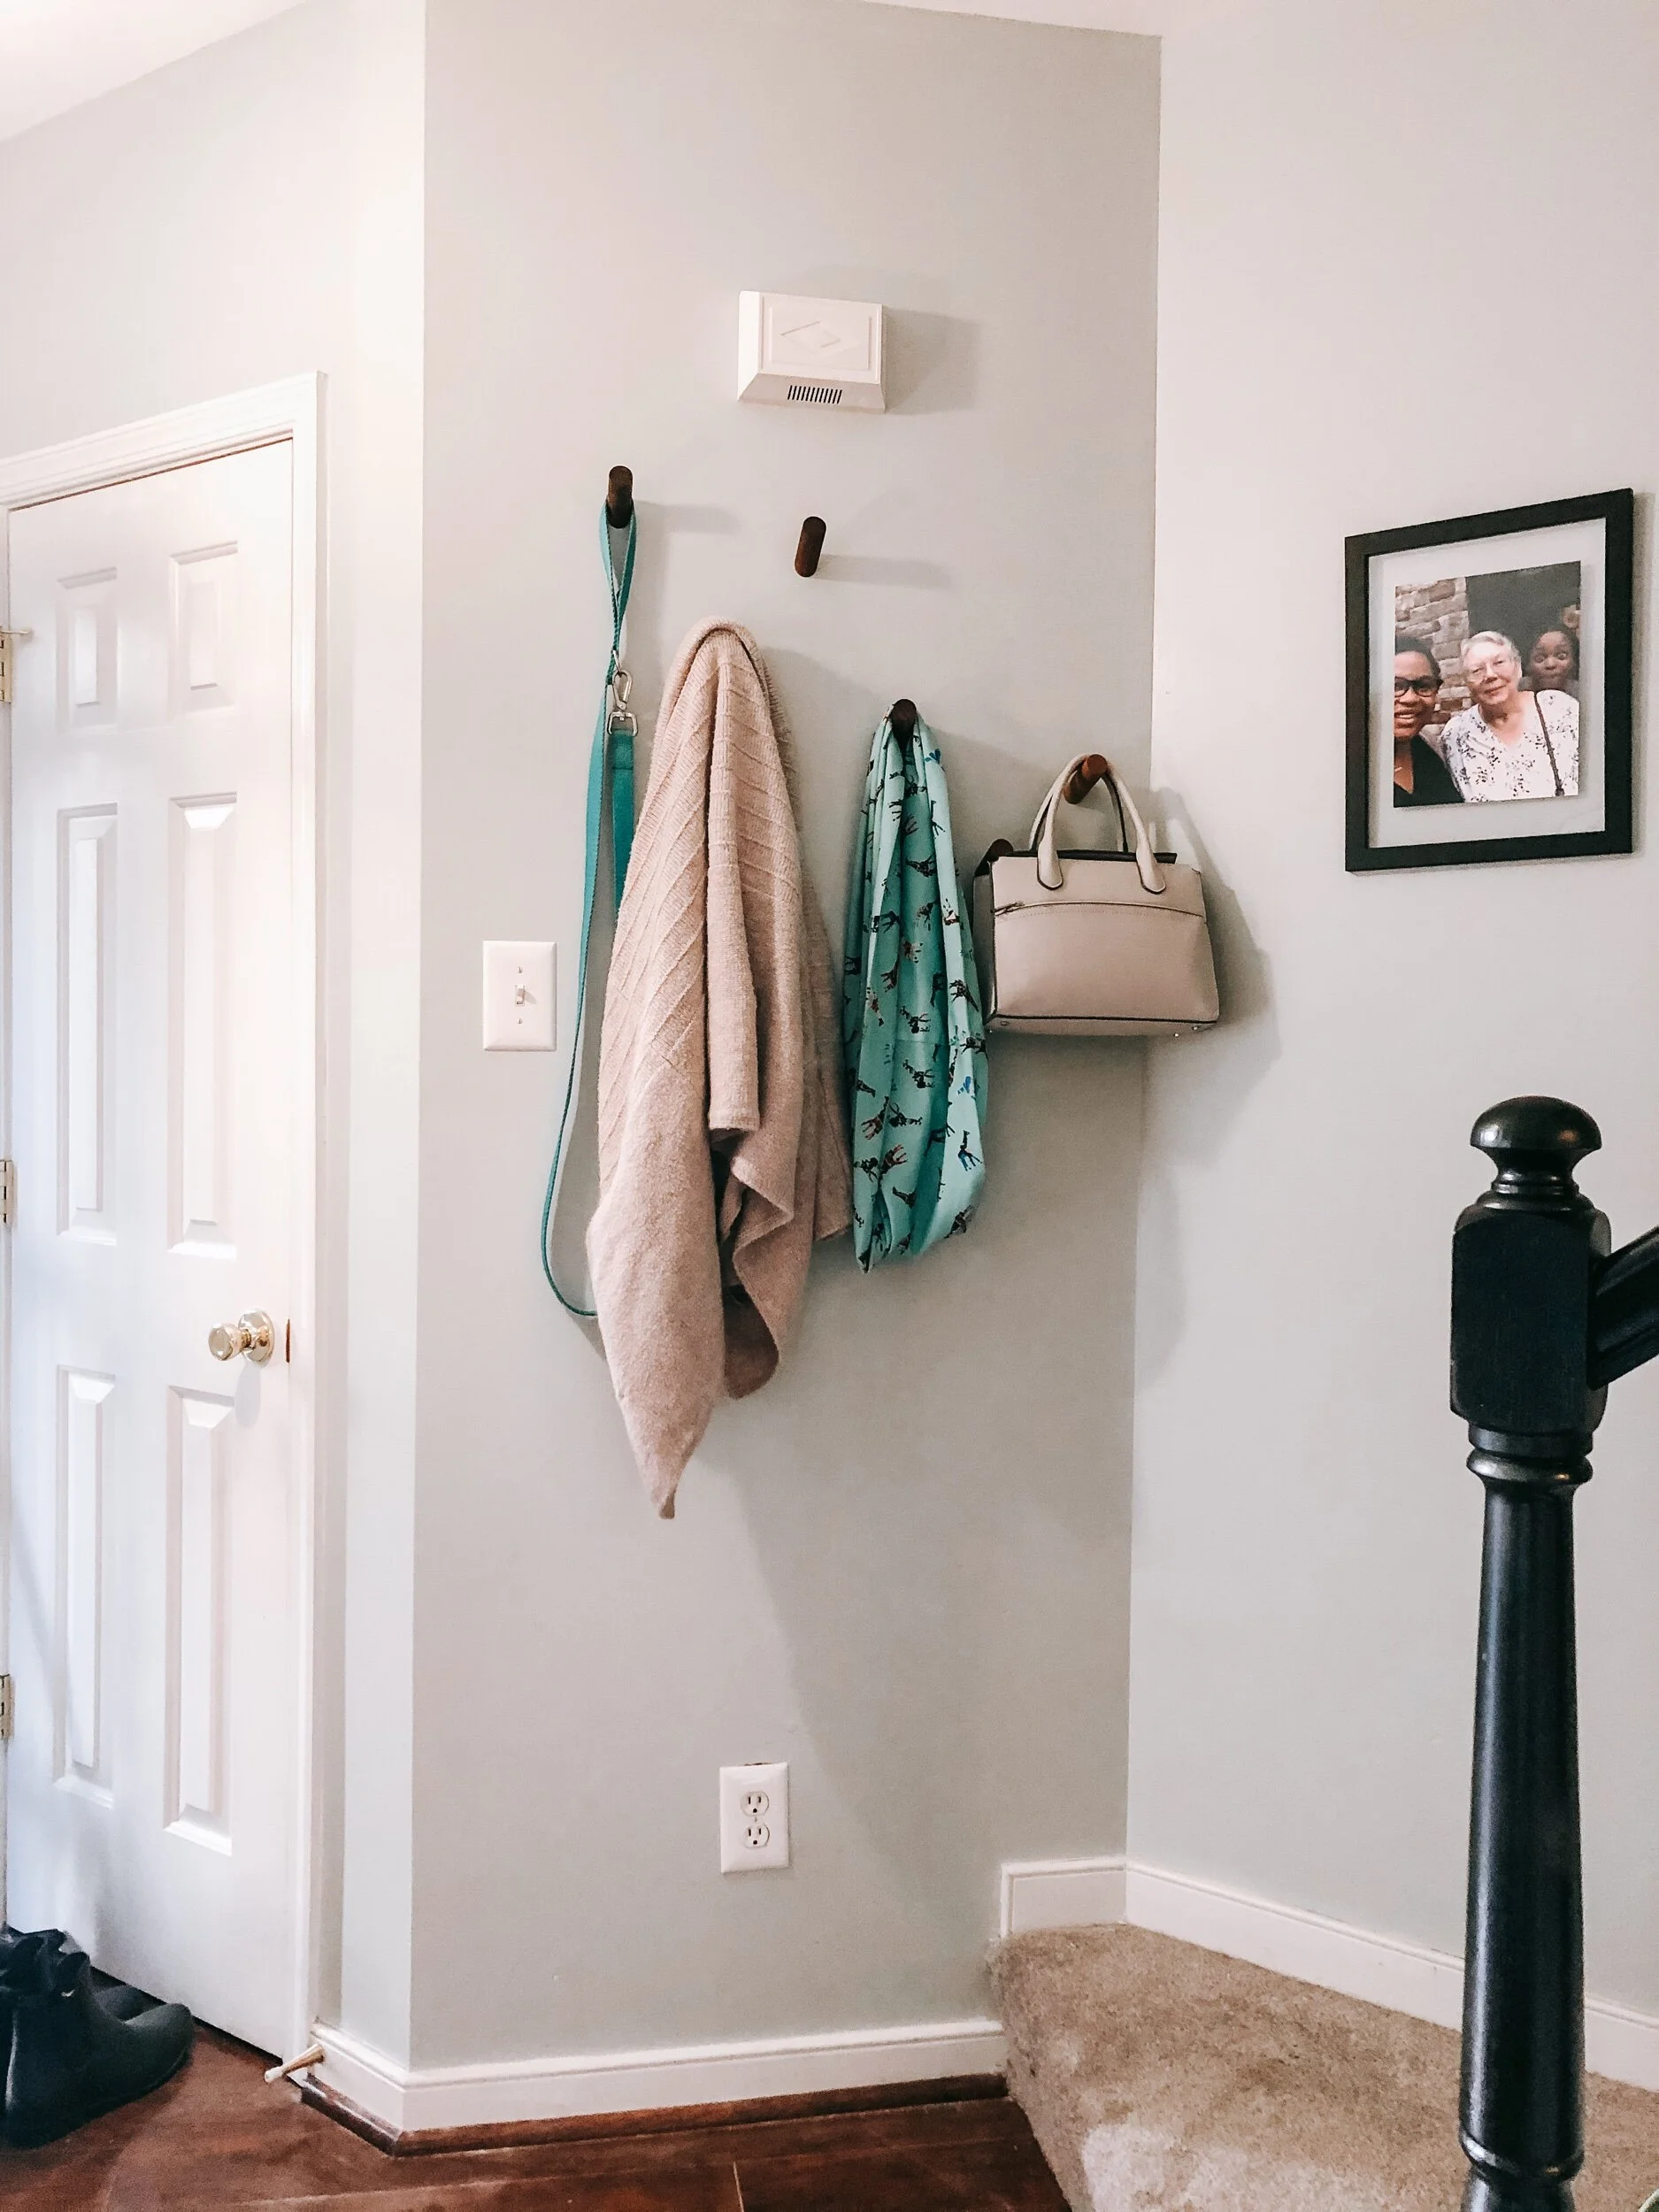
New Coat Rack But Make It Cute
5 Easy Steps To A New Coat Rack
I used pegs from Amazon - find them HERE. Other supplies:
Drill
Drill Bits
Spackle
Sandpaper
Touch Up Paint
Drywall Anchor + Screws (included with the pegs I bought)
1
Remove old coat rack + patch holes (spackle, let dry, sand smooth, touch up paint)
2
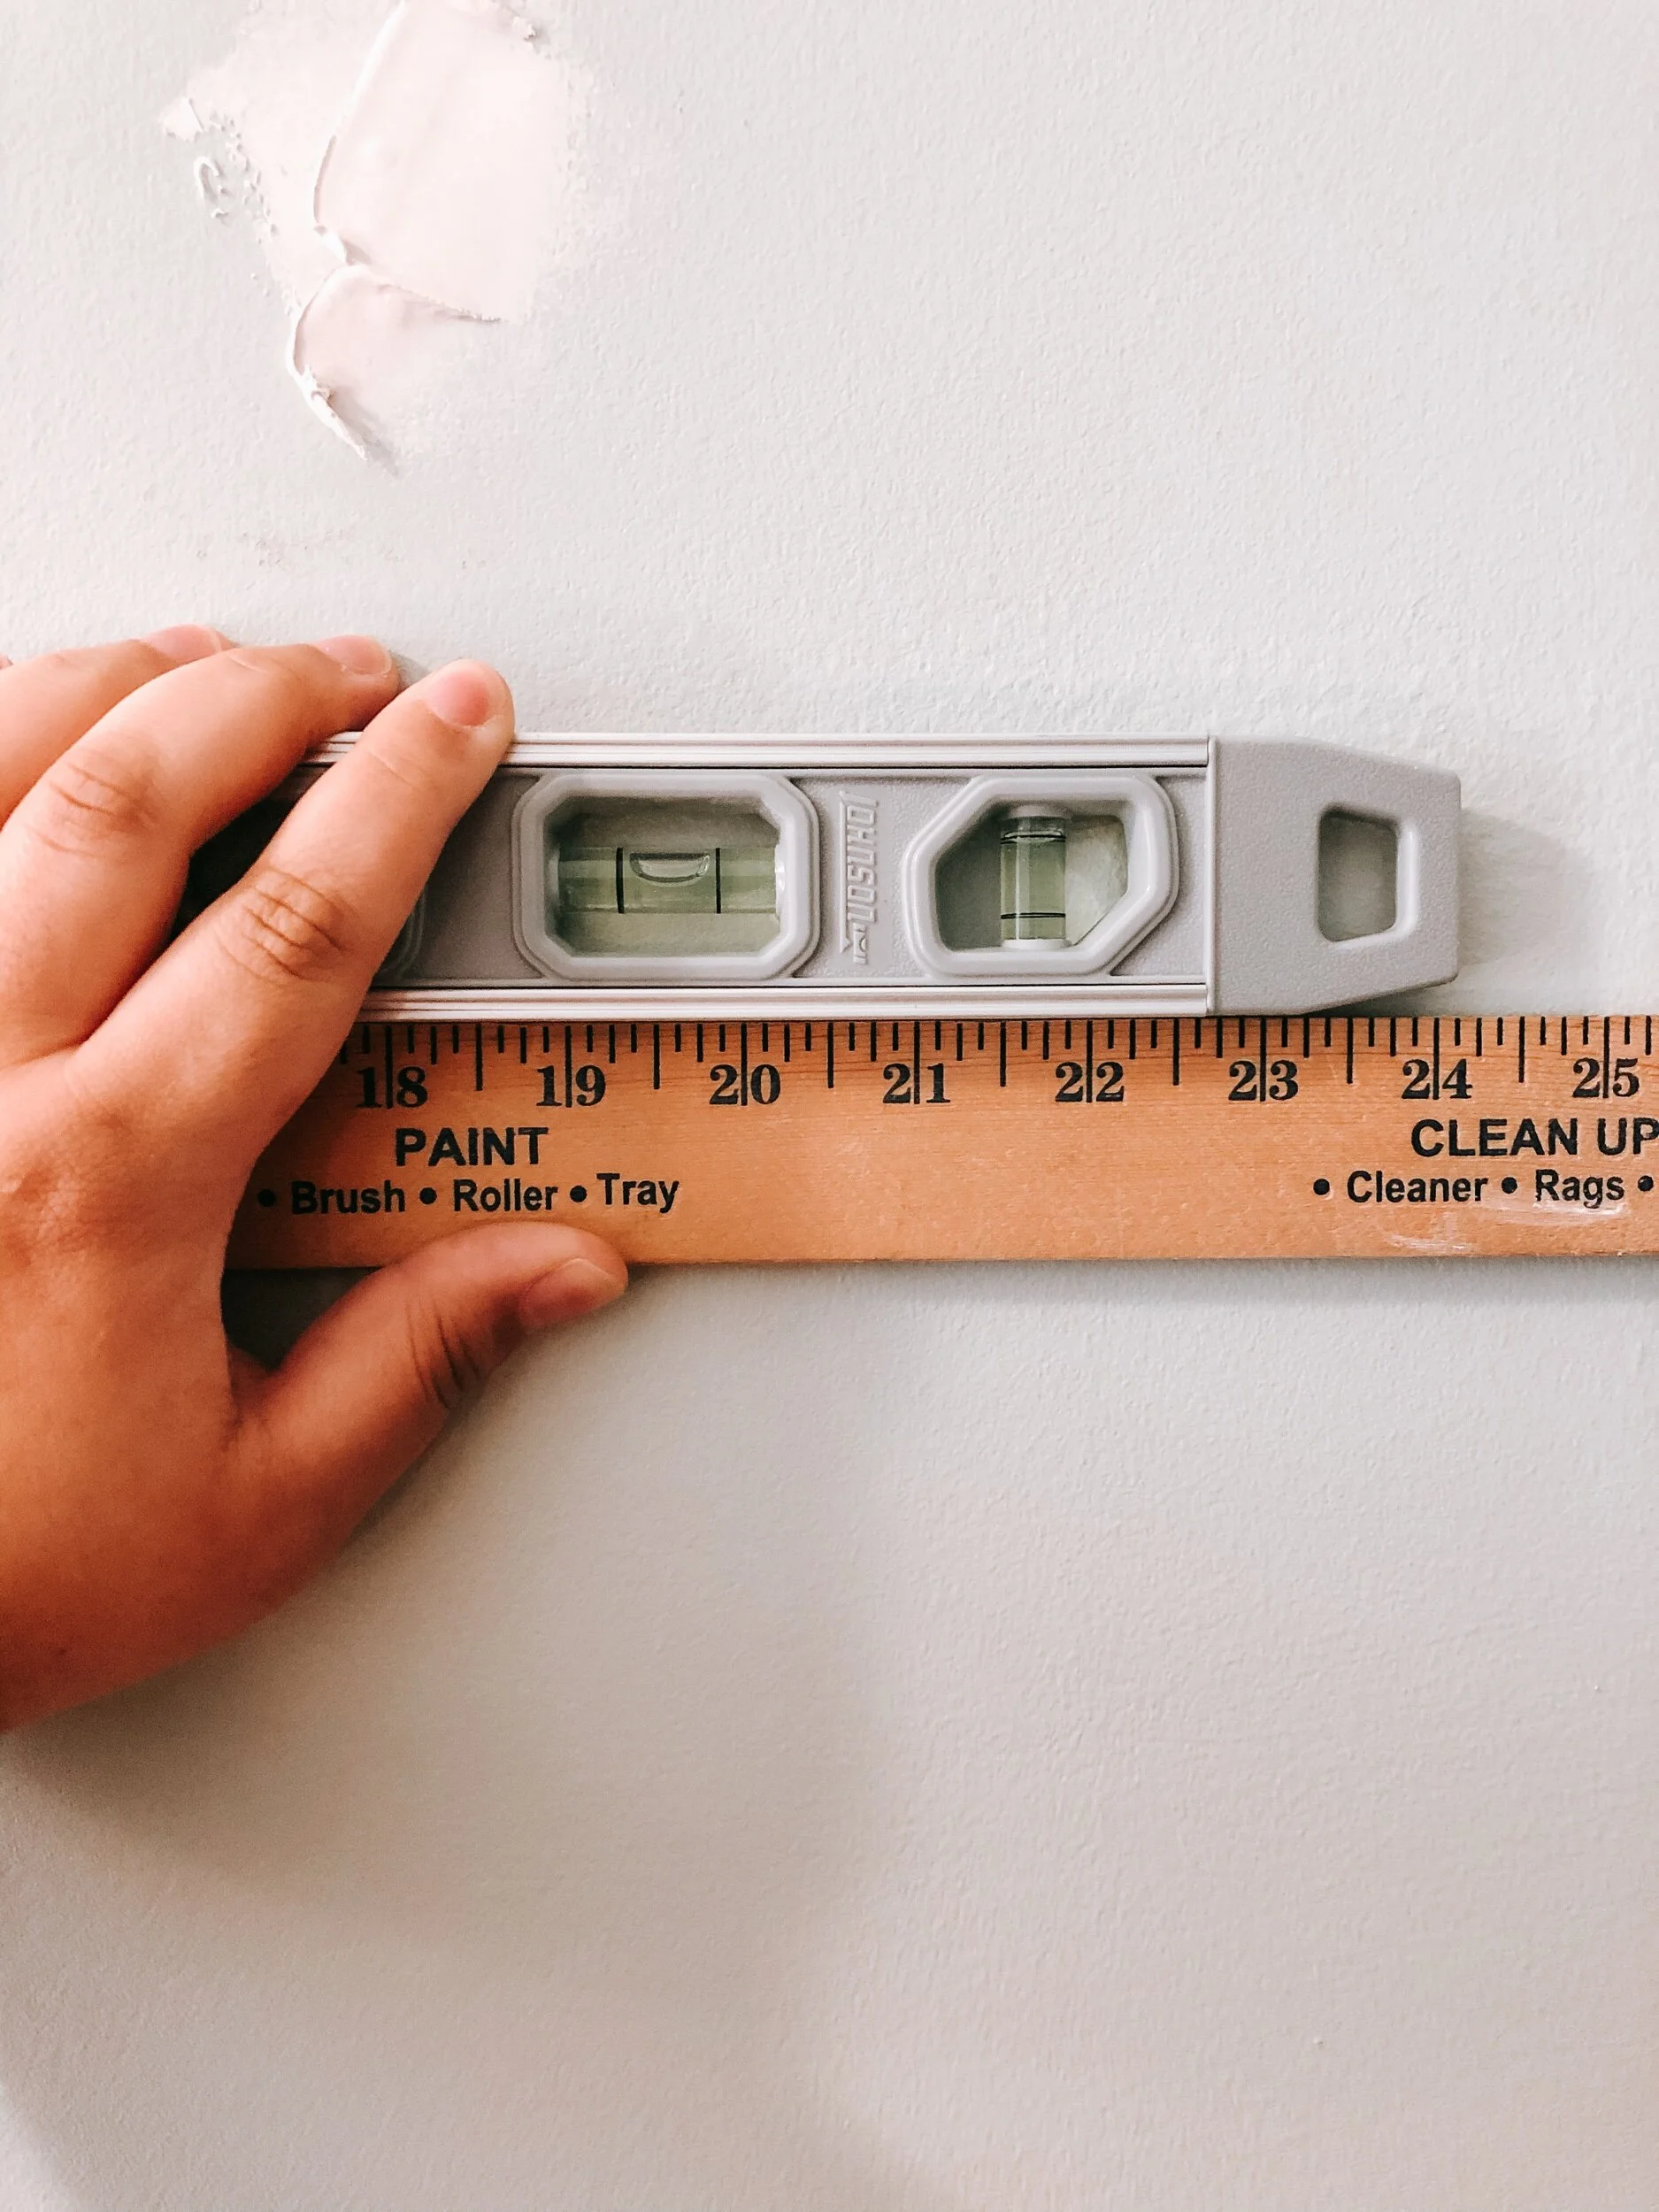
Measure length of wall + use a pencil and mark how far apart each peg will be (use a yardstick and level to evenly space the pegs.
3
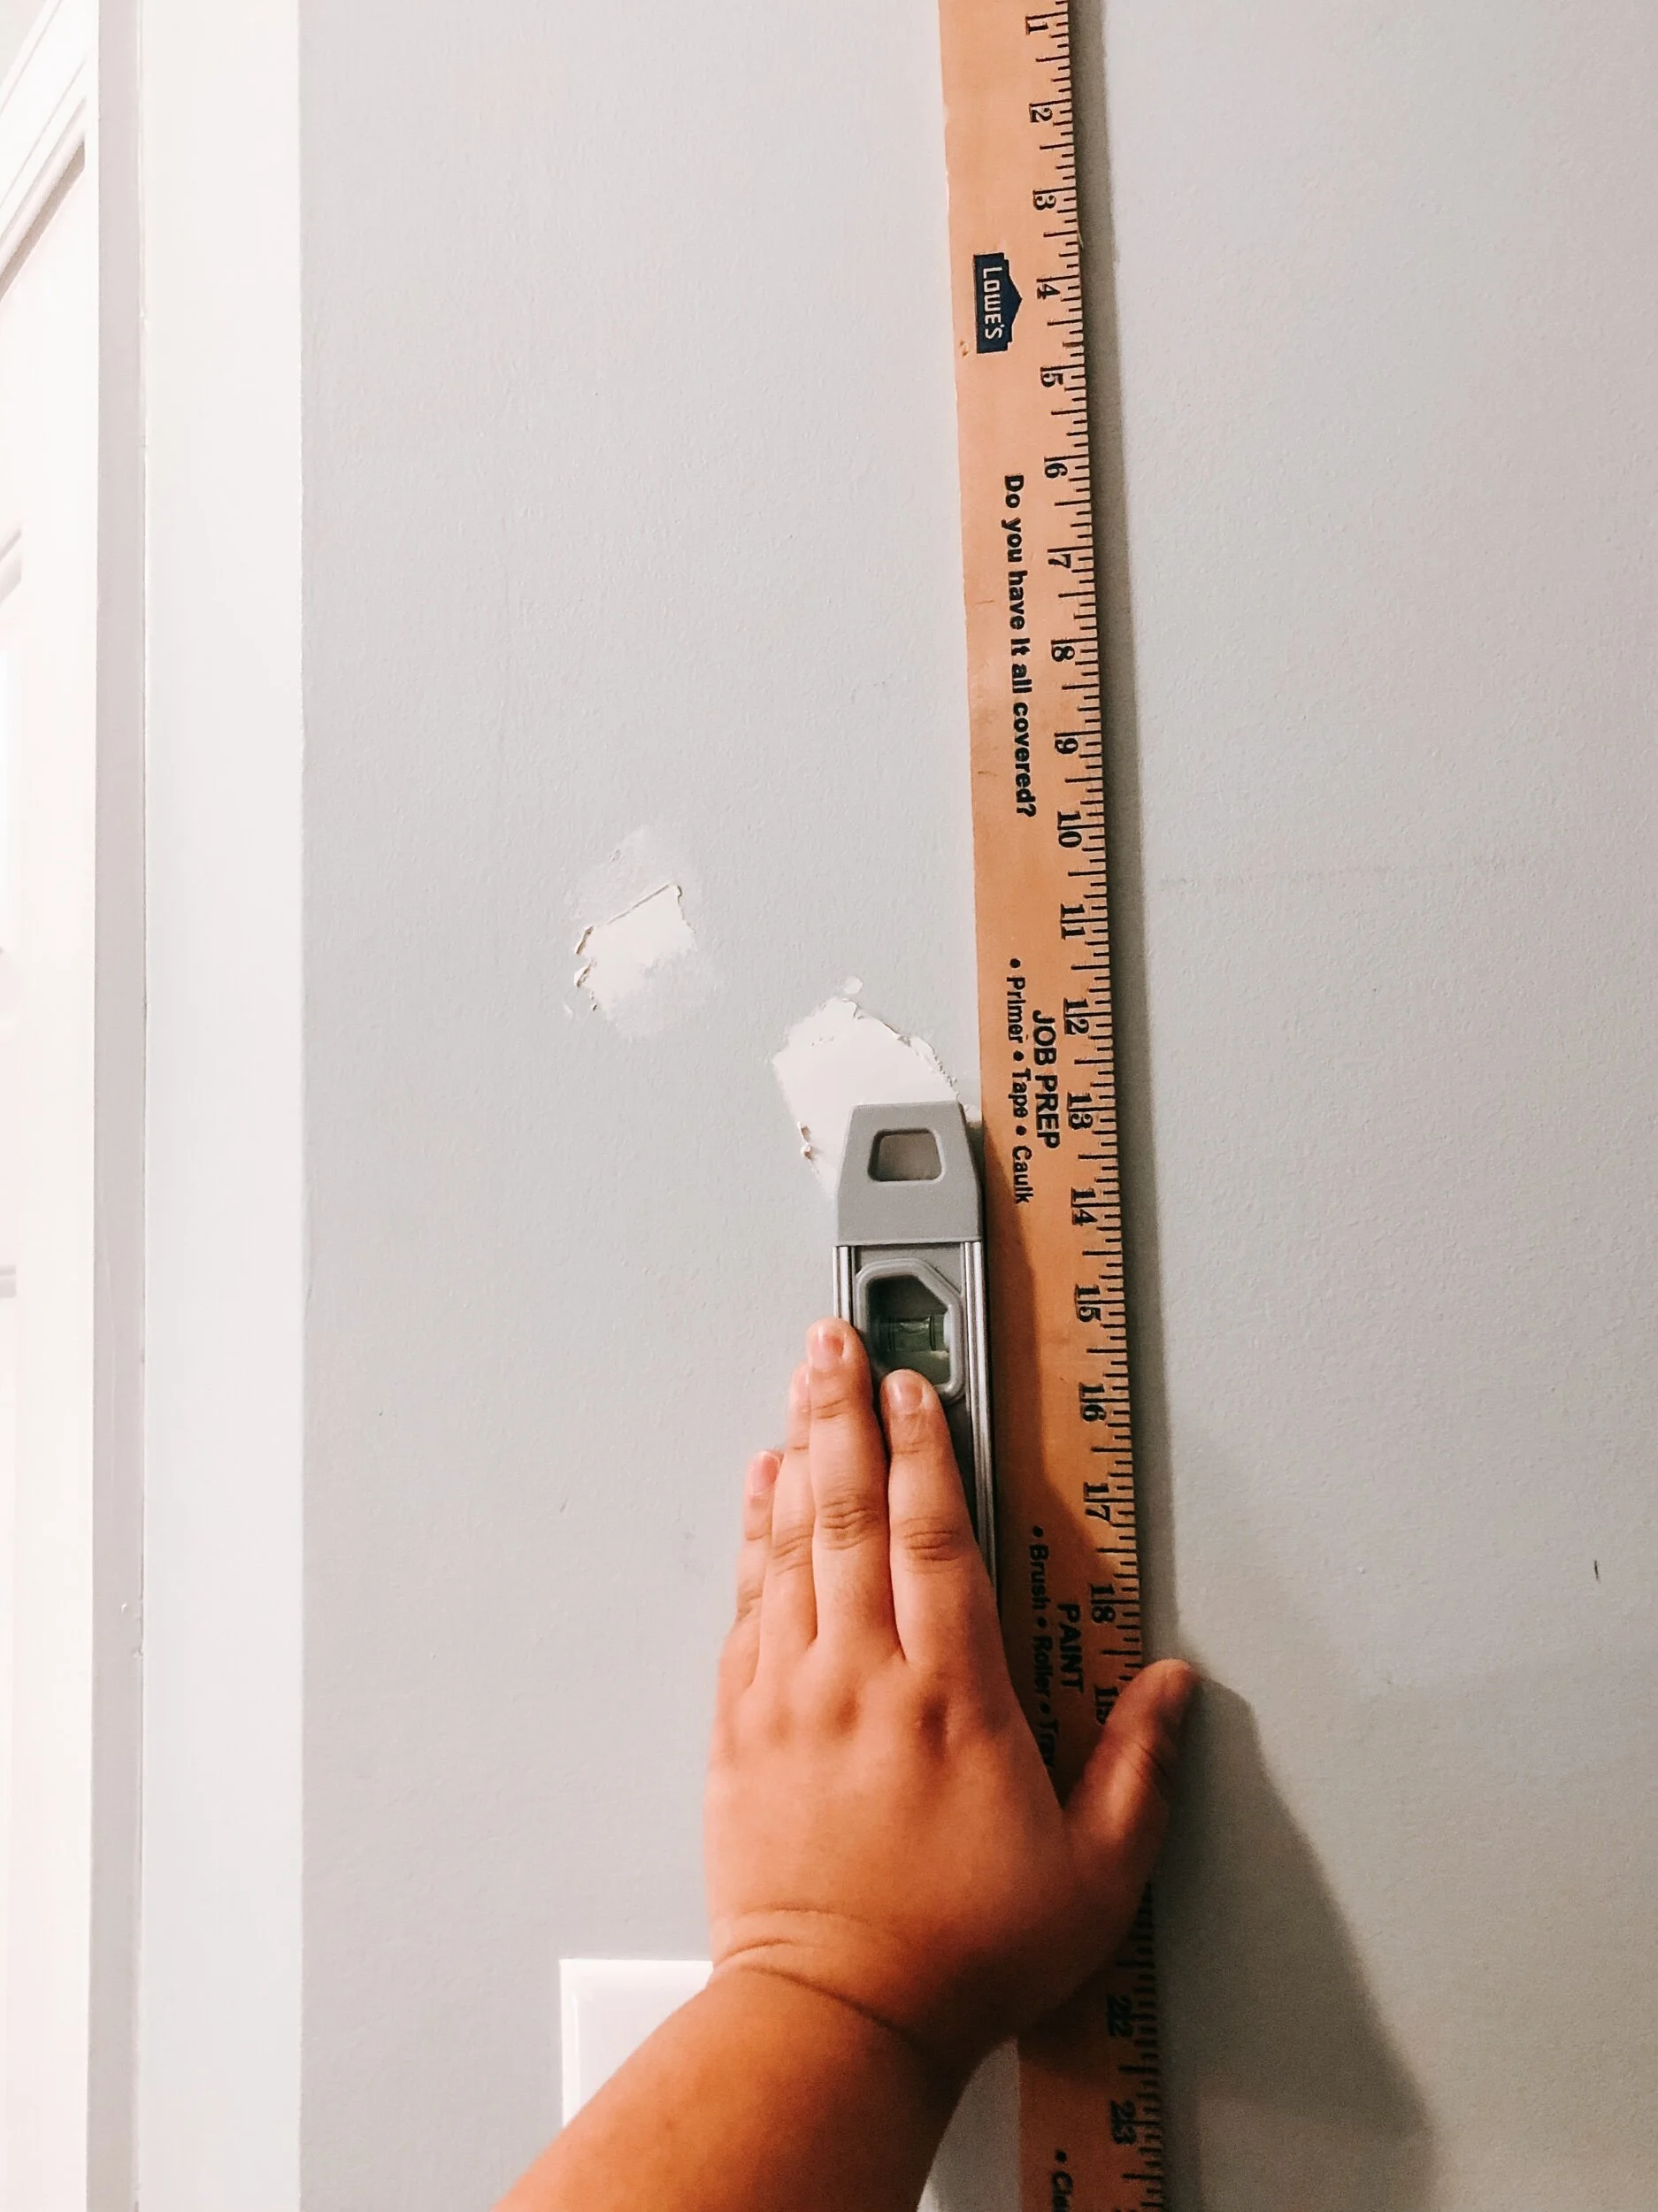
Turning the yardstick 90 degrees, line the stick up with the first mark you made, and mark where you want the peg to go along that line. Repeat for each peg. The value of the yardstick is you can place each peg as high as you want along the wall but they will all still be evenly spaced along the wall.
(You can put the pegs in any design you want, including a straight line. If you decide to do a straight line, skip this step.)
4
Drill your holes. If the holes are in drywall (instead of studs), use drywall anchors.
*Tip: Select a drill bit slightly smaller than the size of the screw.
5
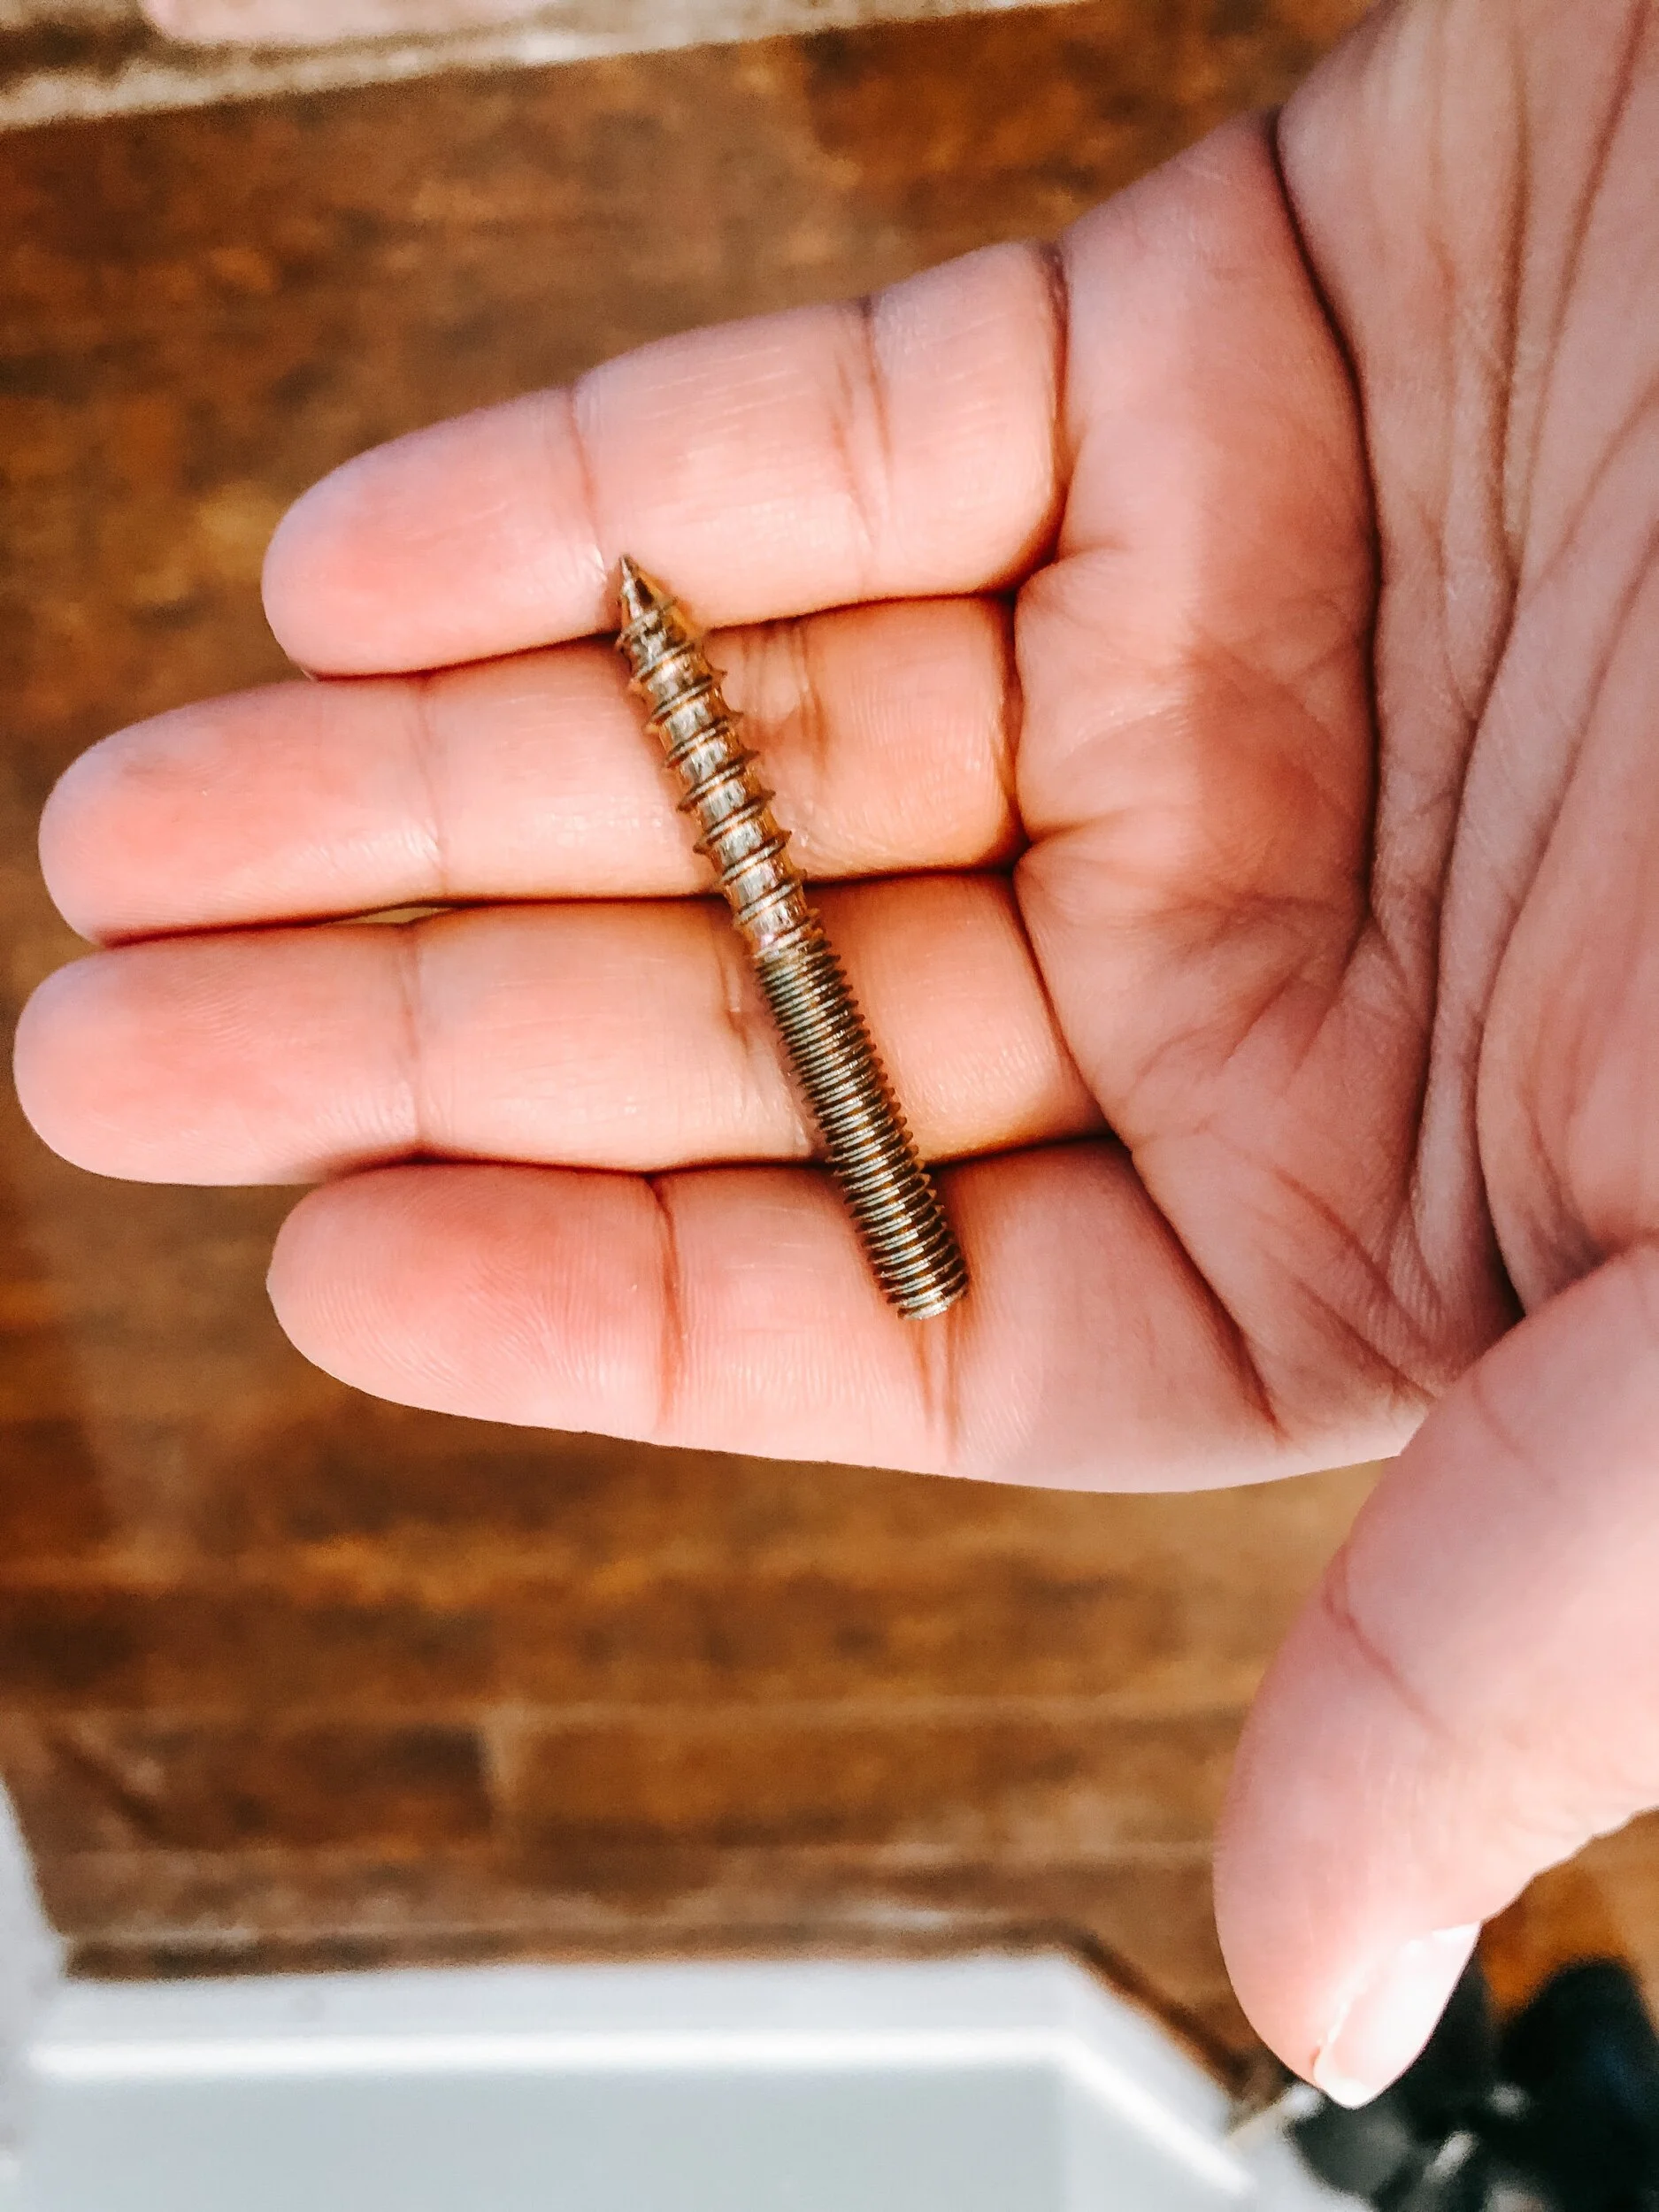
The screws are doubled sided. Screw the peg end into the peg as much as you can. Then put it in the wall. Rotate the peg until tight. Repeat for all pegs and then you’re done!


